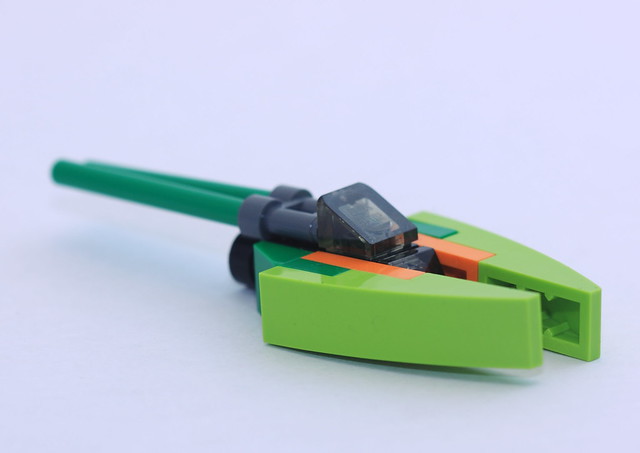
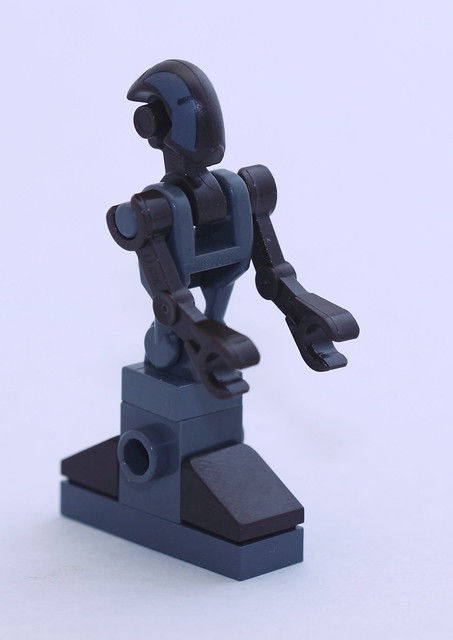
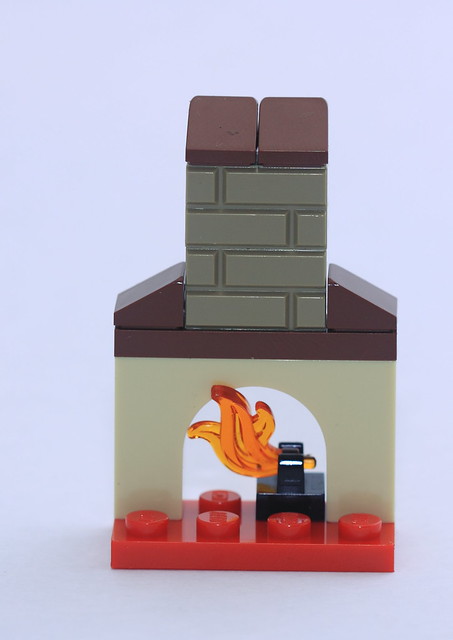
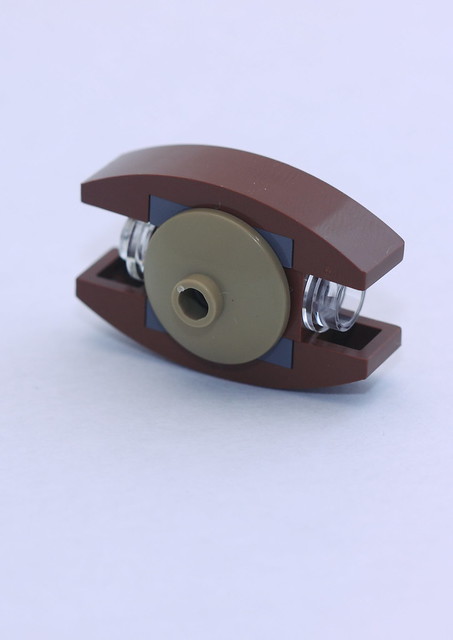
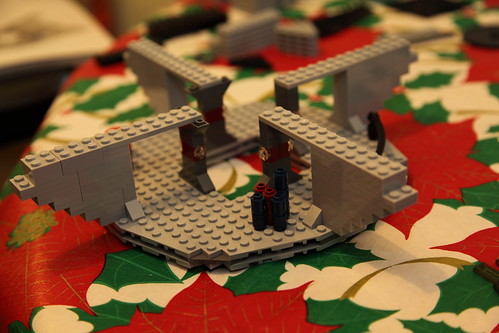
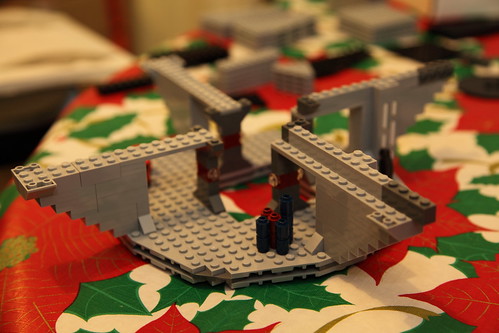
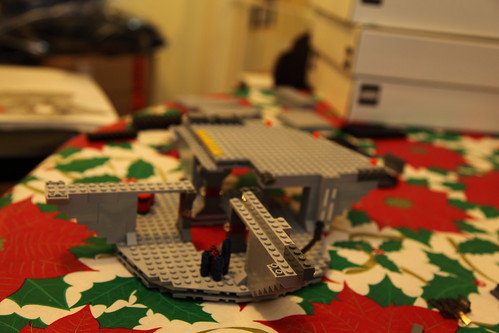
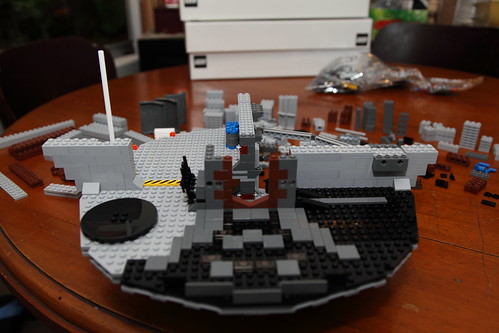
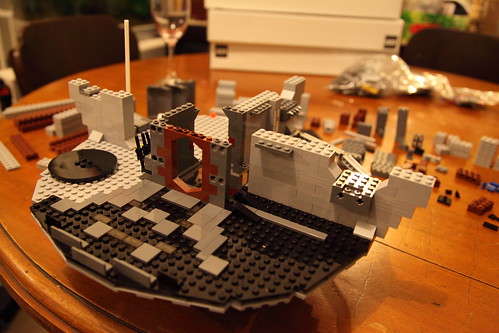
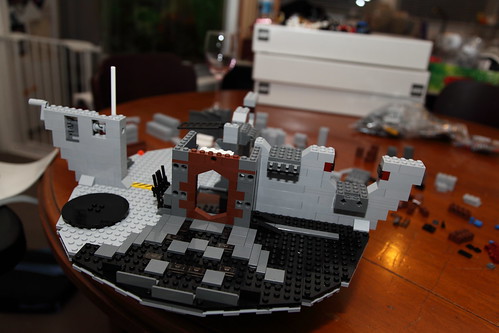
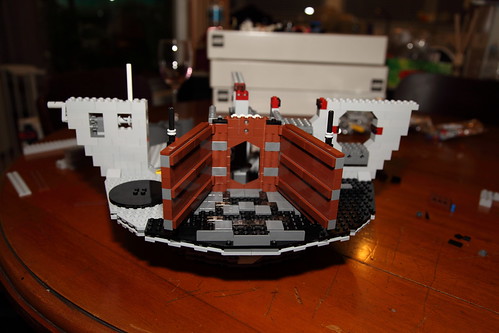
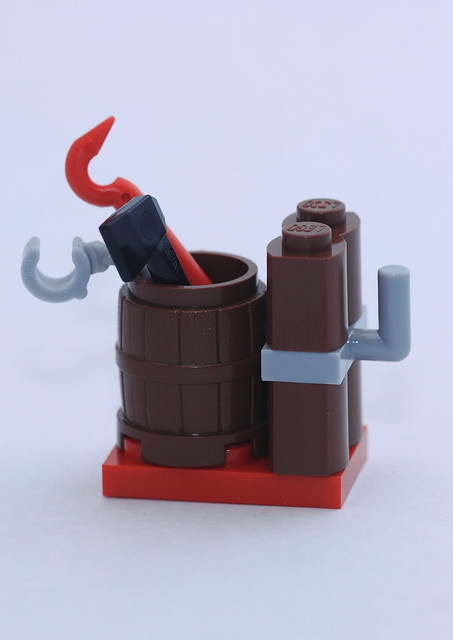
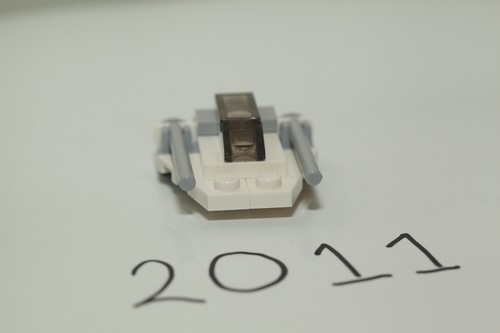
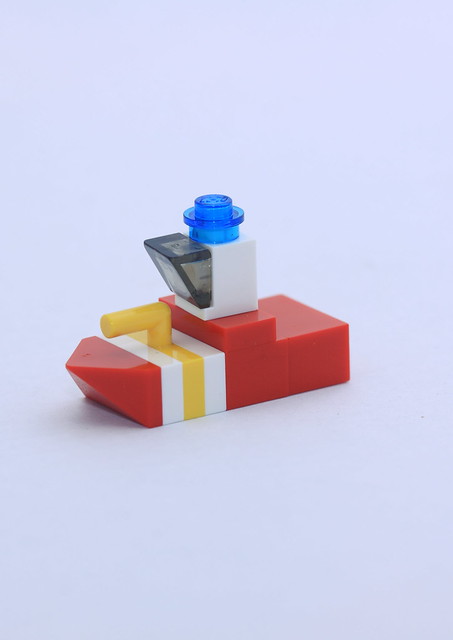
Lego Advent 2013 – Day 3
Lego Advent 2013 – Day 2
Lego Advent 2013 – Day 1
Modifications
So, you buy a set from Lego, they provide an expansion set, you put set 1 with set 2, and you know what, it’s ok, but just not what you wanted.
What do you do, you buy a second one of each set and make some modifications, that’s what you do.
LEGO is an awesome product, and it allows for just this situation, your not happy with what the Lego designers came up with? fix it!
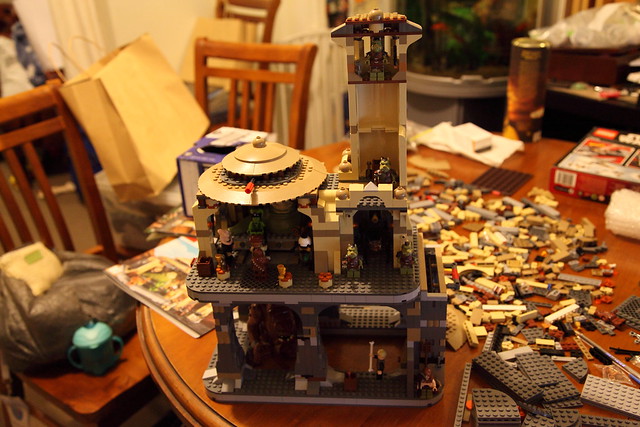
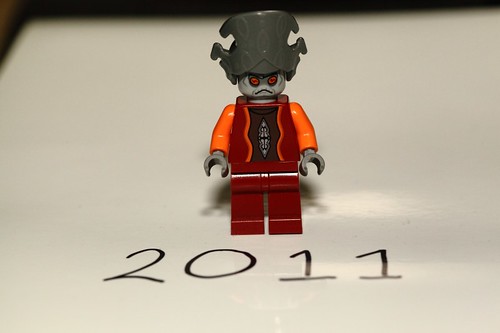
Jabba’s Palace was sitting all over the place, didn’t seem to move too much, probably had to do with the price $200 in Australia, then they release the Rancor pit for $90
So Kate got me the Palace for Christmas, I got a Pit when they released in February. was okay with the build but it was lacking, inspiration was put up on the eurobricks forum and I fell in love with the idea. So Kmart had a reduction of the palace to $109 that coincided with a 20% off at Toys R Us.
Here’s the slide show of original to end game… maybe
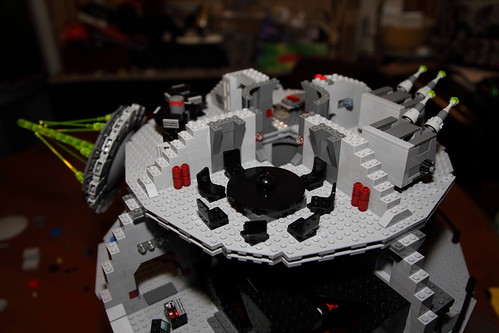
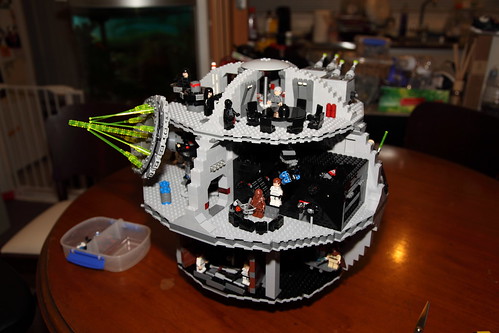
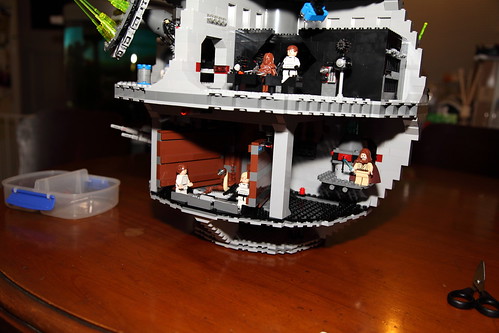
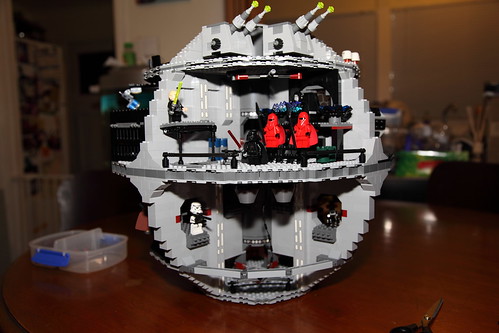
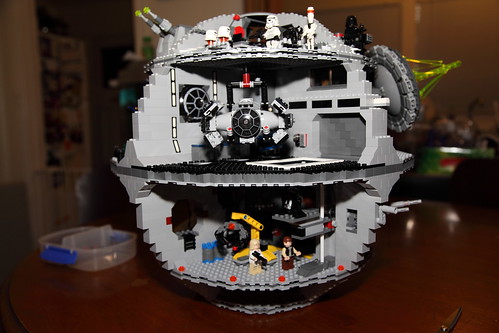
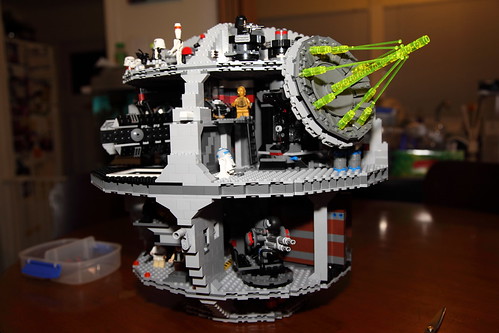
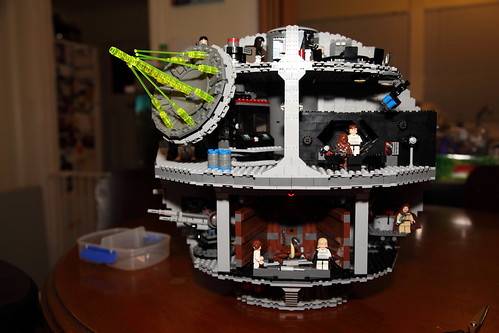
Lego Death Star: A Saga part IV – A New Hope…
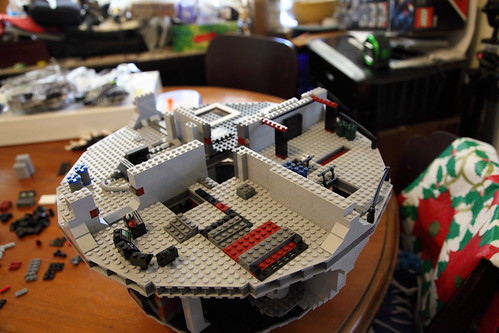
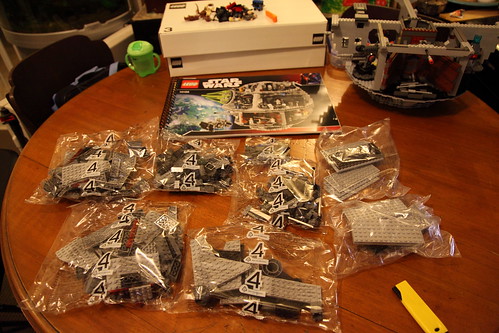
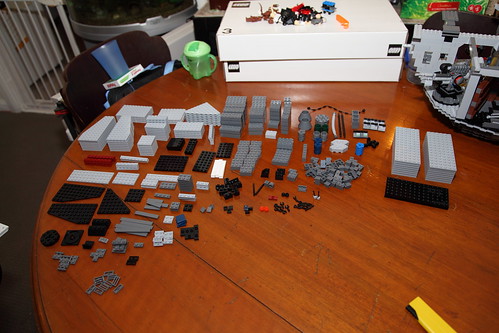
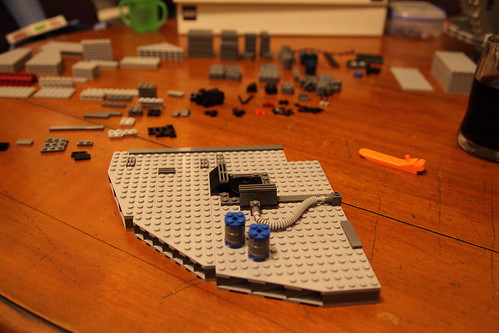
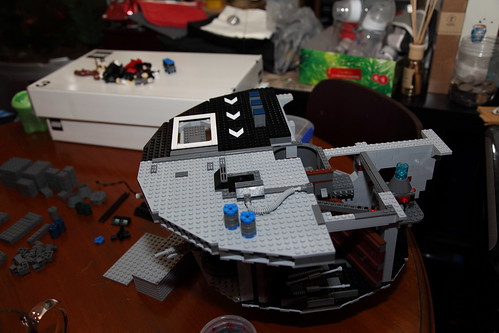
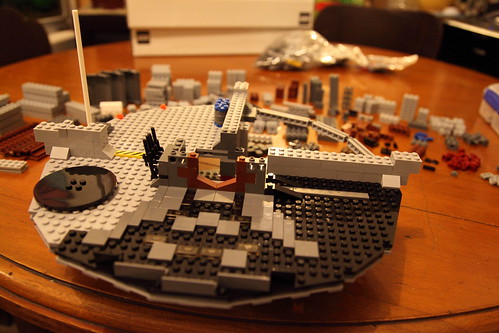
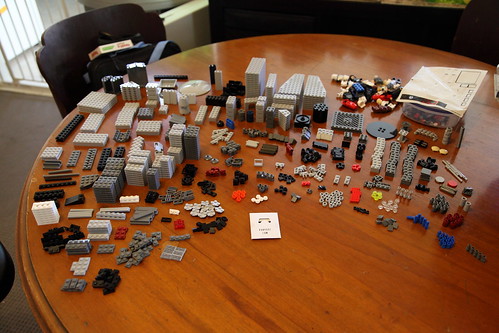
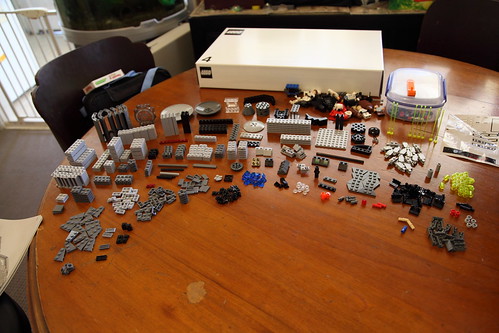
Here we are, the final stretch, box 4, bag set 7, and what a lot of bags there are…

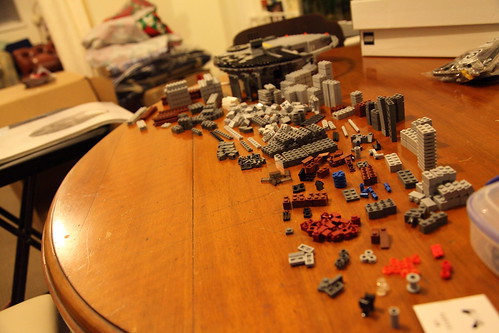
All laid out, this is what it contains, lots and lots of small pieces in here
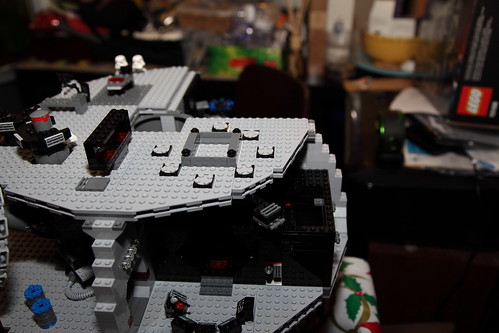
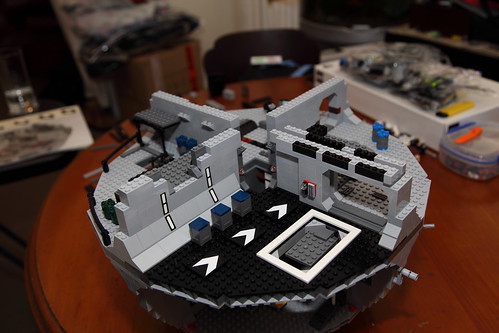
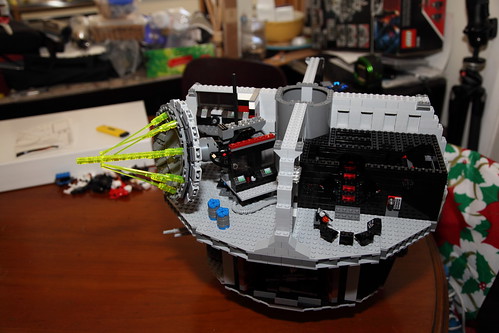
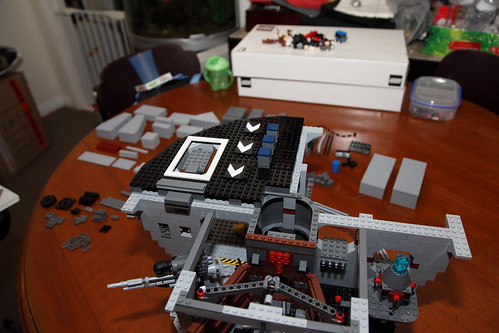
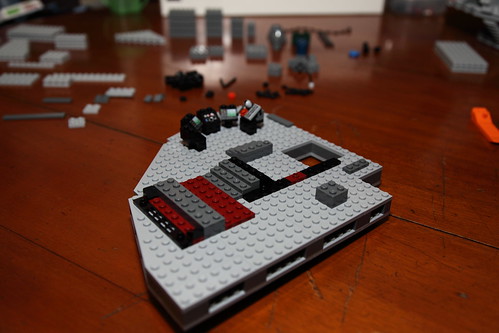
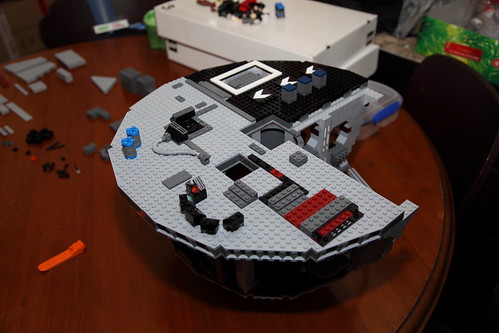
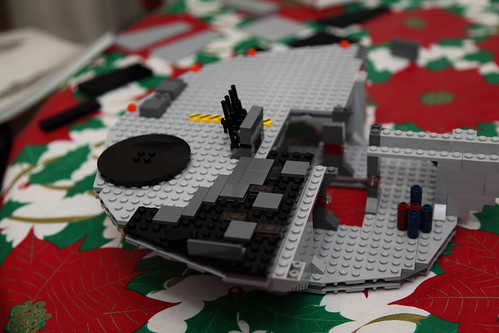
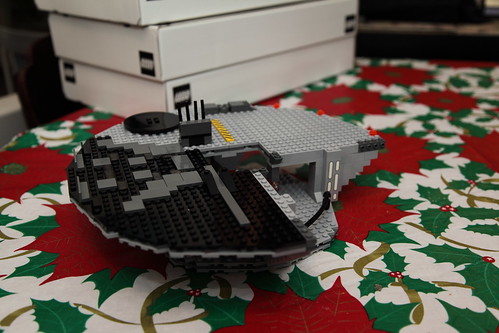
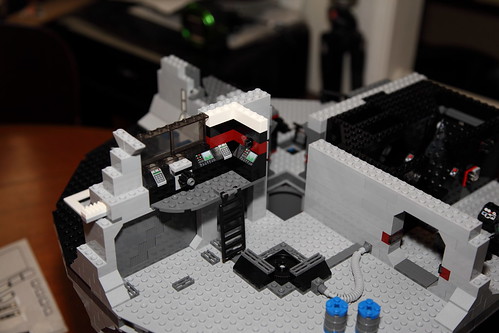
A small work area on the top floor, above the Hangar
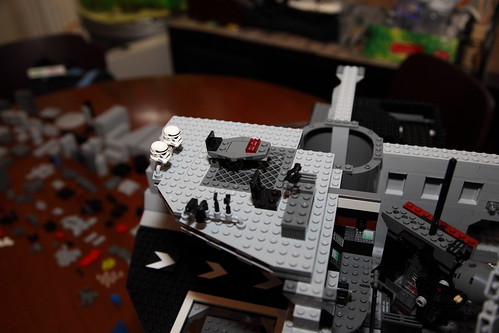
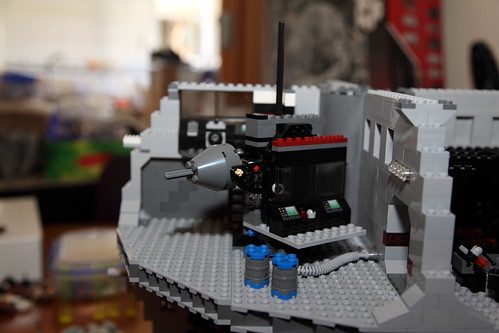
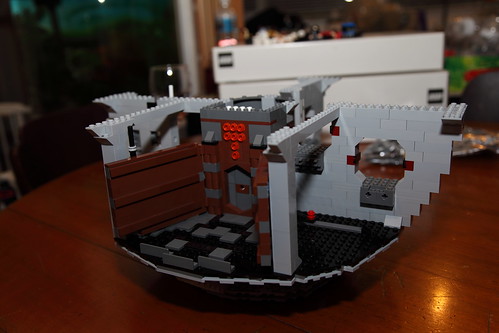
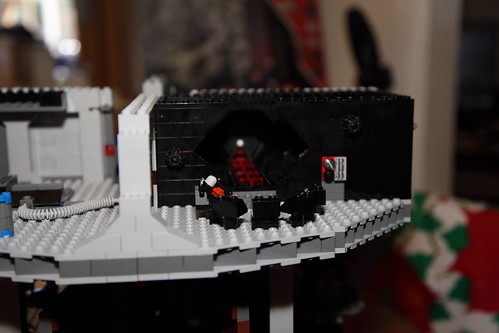
The Control room for the Death Ray
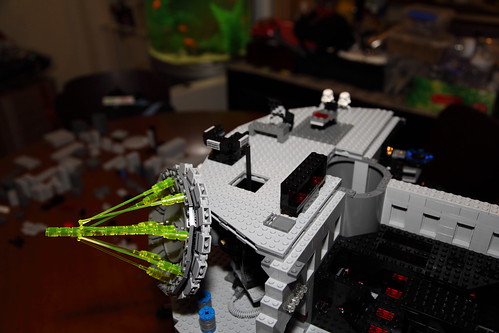
Rotate the desk left or right to aim the beam, turning the knob in the desk moves it up and down
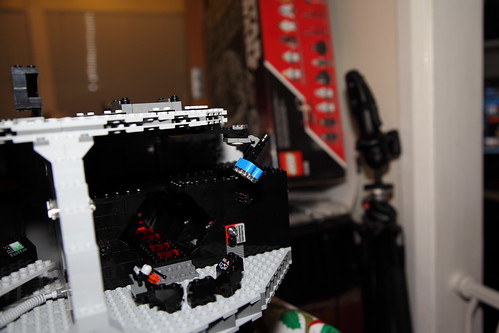
A light for the Detention Block
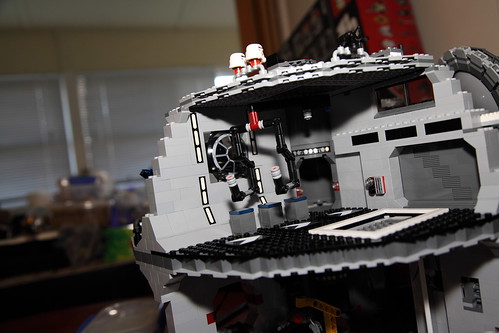
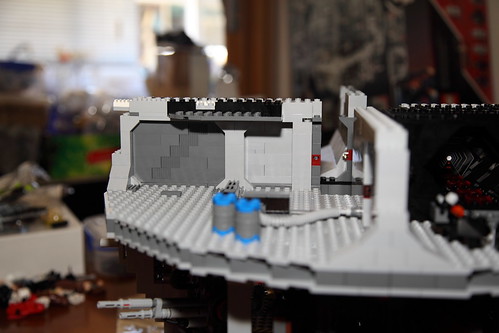
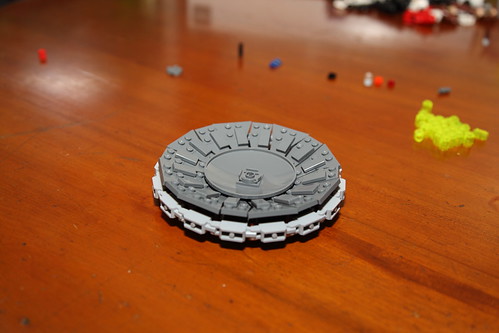
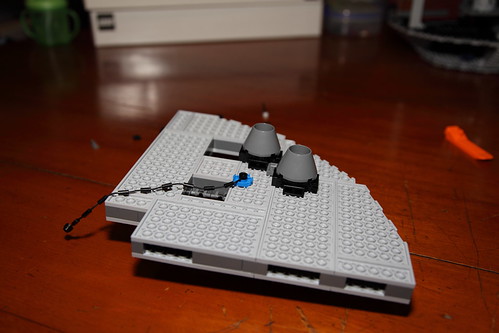
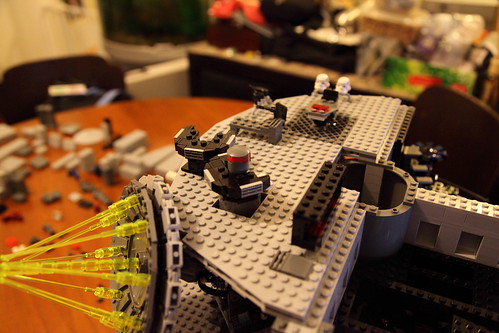
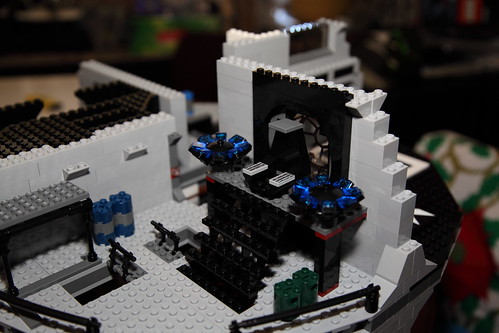
Turrets for the defense against X-Wings, here they are not connected to the aiming mechanism, a bar network under the floor links the two so they move together, the guns move up and down individually by the knob on the side of the turret
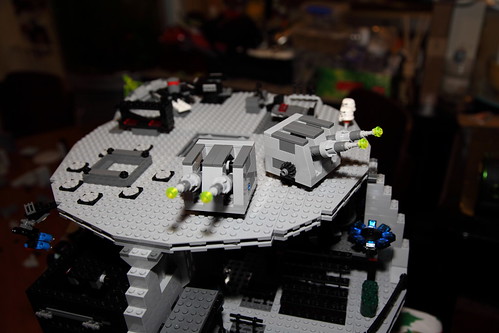
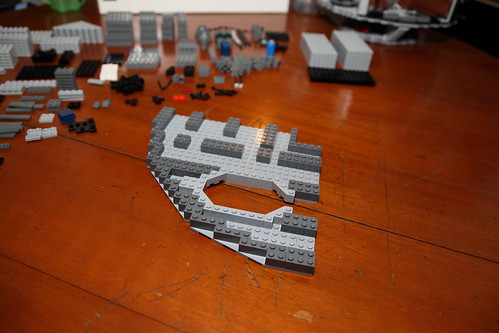
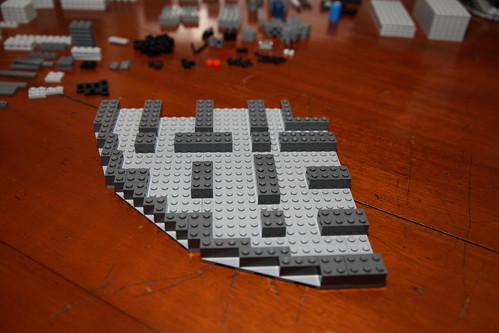
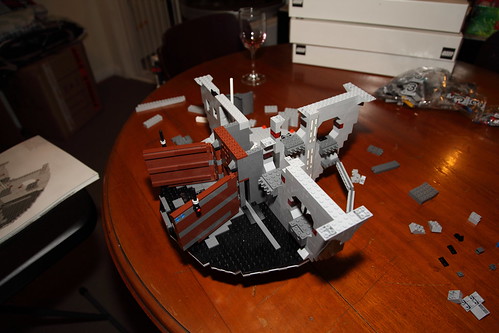
Building the final walls, these are quite intricate using more flat bricks than standard to build it up
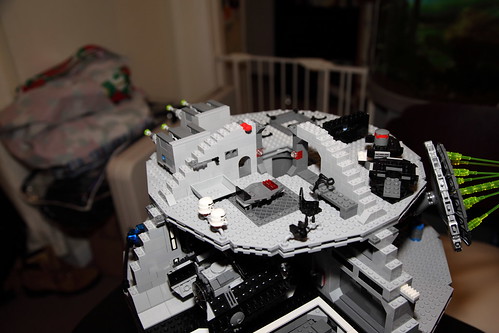
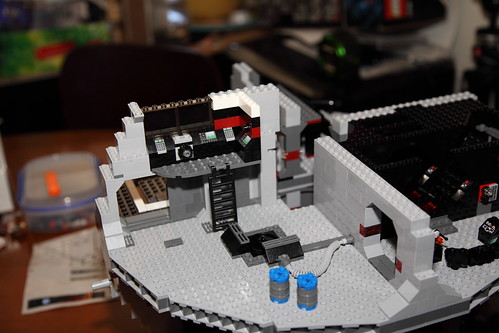
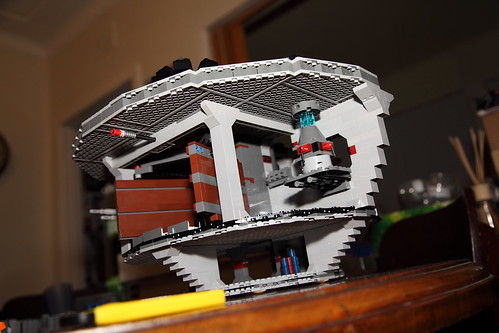
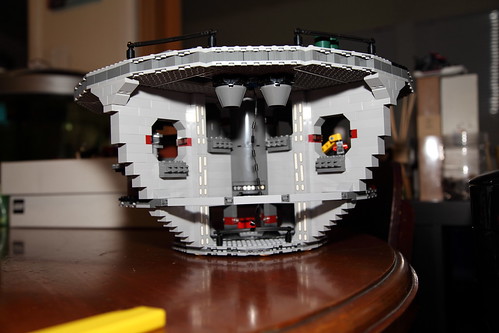
The Central Lift being inserted into the shaft.
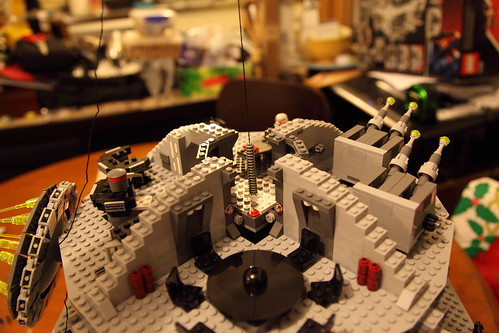
The lift mechanism in the workroom
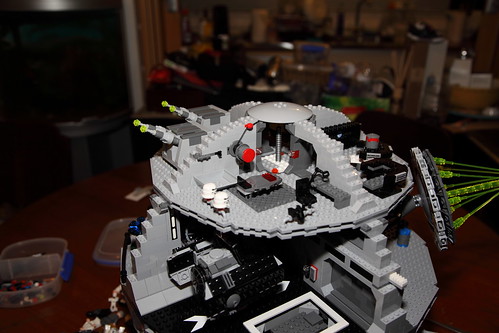
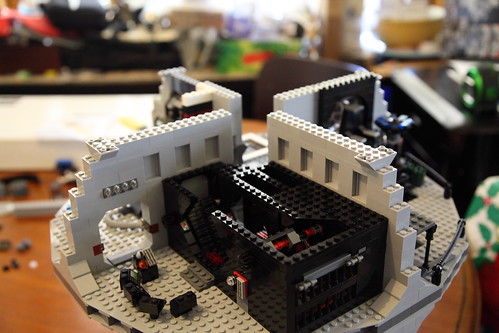
All up a very fun and challenging build that I would recommend to any one, it has a lot of techniques in the building that would help with developing ideas for kids to make more complex models themselves.
40 centimeter diameter makes it a rather big unit, but it packs a lot of play areas into the whole construction.
I’d happily recommend to anyone interested to get it, but do source it from a cheaper retailer than locally or direct from Lego.
Sidebar:
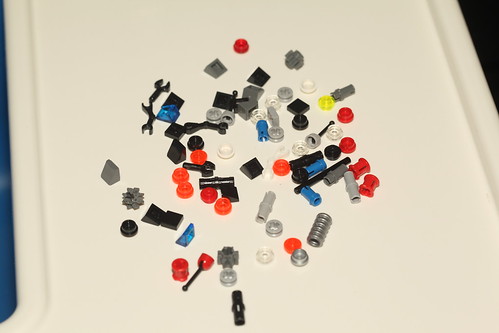
A set this size as with most Lego sets has a piece or two left over, this is what was left on the Death Star
Lego Death Star: A Saga part III
Box Three: time to populate this level
Two sets of Bags for Box three, Bags 5 and 6
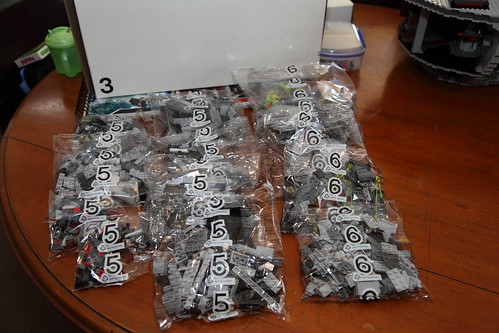
Bag 5 sorted and ready for build
I didn’t realise it at this point, but that stair case in the throne room was going to be demolished again right near the end of this bag set, Dark Grey and Black are way too close in the instructions, and I used a couple of black pieces in the stairs that should have been Grey, they are hidden from view, but where I needed the Black pieces in the Detention block was a major stand out.
There is a functional door going in on the right. The little perspective trick that is used on the detention block to make it look like it goes back a heap is a really nice touch.
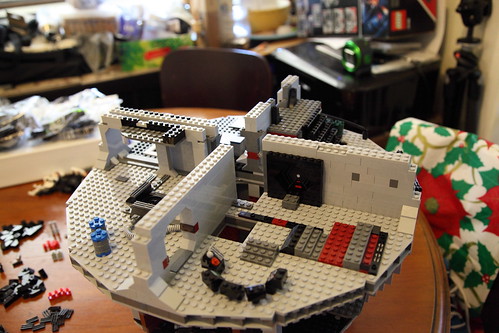
This is a part when first things went astray, I thought a piece was missing, found a replacement in my spare stash and moved on, later I realised it was bigger then that.
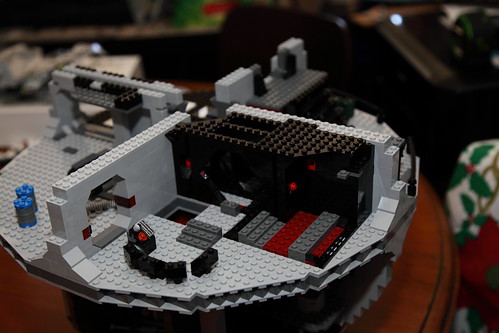
Starting to show the perspective build up
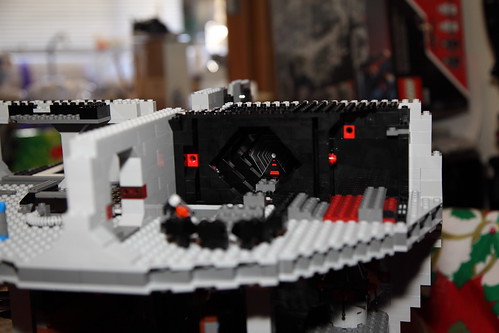
Functioning door to cell, break away bars and the fall in panel into the trash compactor
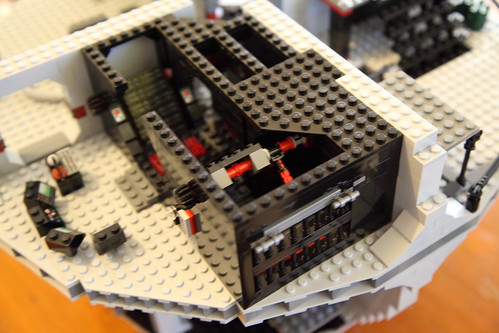
Probably should have used the macro lens for this shot, but falls back into blur to the detention block
The control room, but no cupboard for droids to hide in
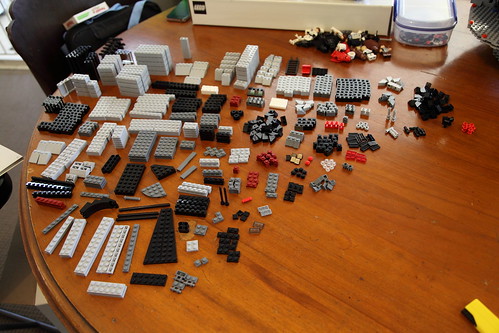
Bag 6 sorted and ready for Build
Details in the throne room are nice
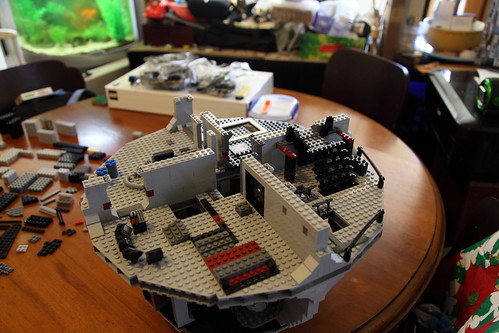
Building up before the next level
Final Box to come….
Lego Death Star: A Saga part II
Build Stage 2: Box 2
Building this Death Star, and all the other Star Wars Lego I have in a display cabinet at the moment is for one purpose.
Building up a collection of Lego for Sean to get creative with, it’s not all going to be left as the current state and just kept for display, all these parts can be mashed in together and create something new when he plays with it further down the track as well.
I had a fairly large collection of Lego as a child, I gave that, and most of my toys away or threw them out, don’t actually have anything left from my childhood toys left to pass on.
Lego is timeless, and it harbours creativity in a mind.
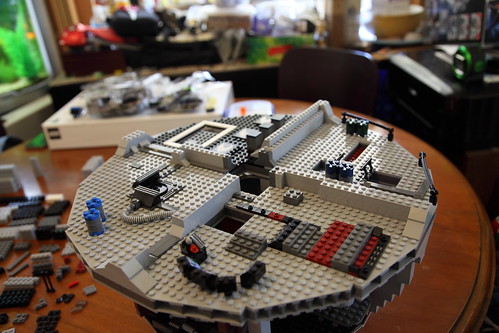
Anyway, onto box 2, this box contains one bag set, set 4, plus two plain bags of large plates and will be the floor base of the second level.
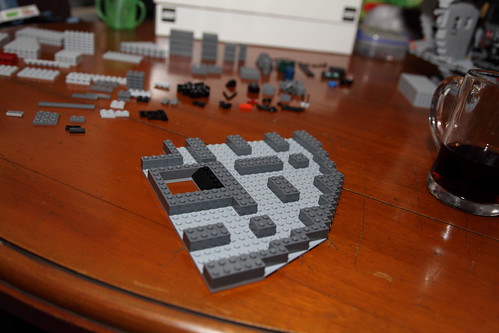
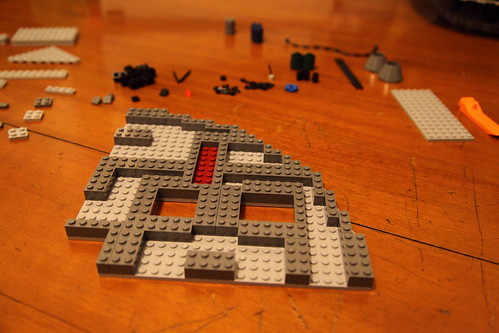
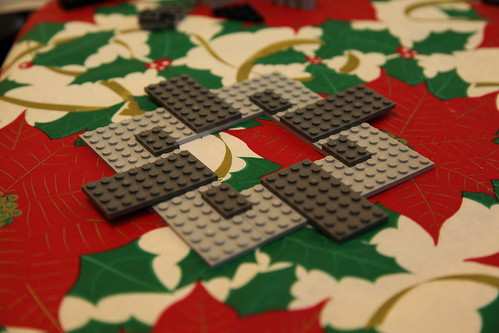
All the base plates follow a similar design, but with a few holes in three of them, this one makes the opening for the elevator
This is a solid floor, no holes
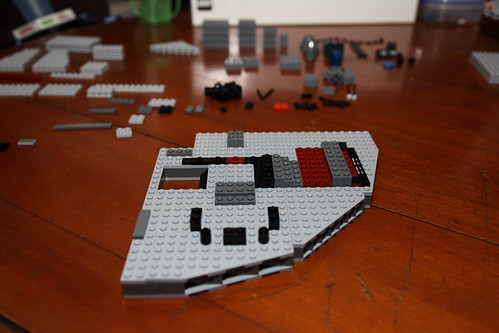
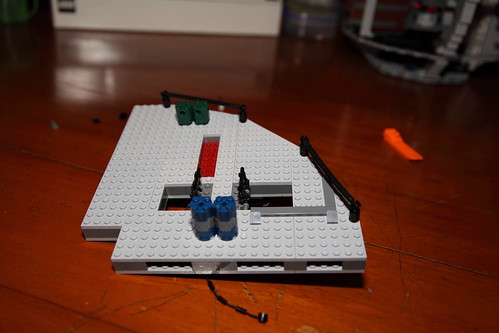
Here we have the third floor piece, with the hole from the detention level down to the compactor
The communication station in the detention level
Connection to the power core
The line Leia and Luke swing across the gap on
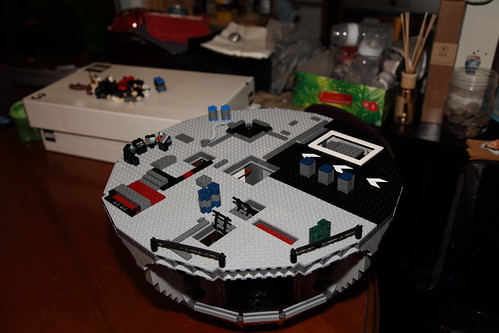
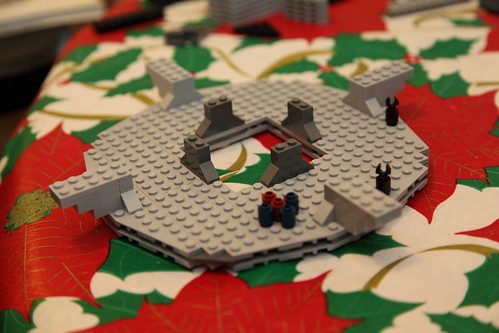
The completed floor level and box 2 finished
Not a lot of detail, but a sold build again and a lot of parts to put it together. onto box 3…
Lego Death Star: A Saga part I
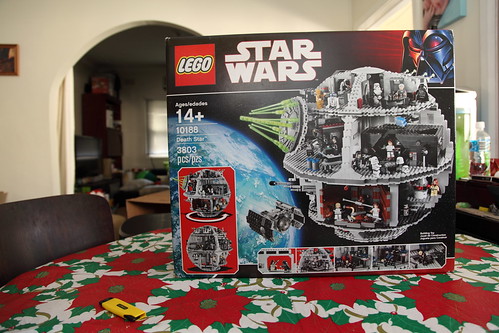
With my current obsession, as Kate would call it, with Lego and all things Star Wars, I have looked long and hard at the Death Star.
Finally after long thoughts and calculations and research, a fluke look at Amazon.com and I had ordered one on Boxing Day.
Yesterday, my package arrived, now first things first, $80.00 delivery and arrived on the 4th January after ordering the 26th December is damn good. Projected Date was 14th January. Impressed, yes Sir!
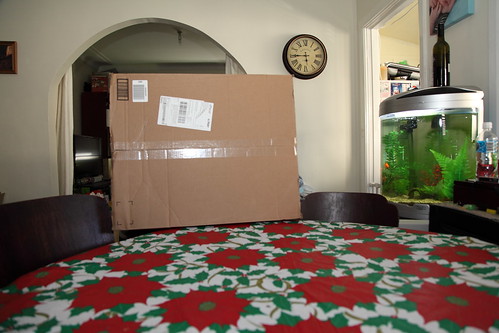
$440.00 Australian full delivery included, compared to buying retail in Australia $699.00, mmm, price fairness my ass.
Well packed and on time, happy with that, will shop again 🙂
The box may have been a trifle big for the contents though…
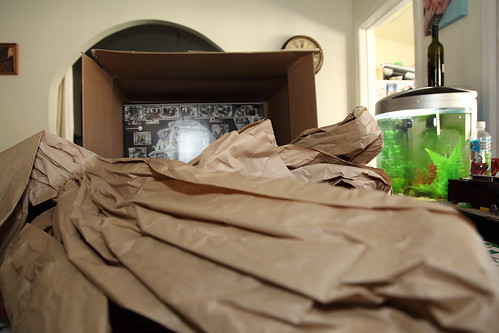
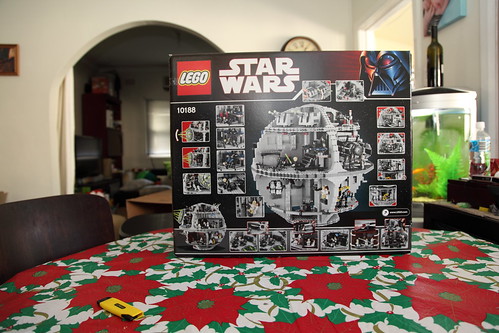
The contents of the box, ring bound, bloody heavy manual and four boxes of parts, each box contains numbered sets of bags too
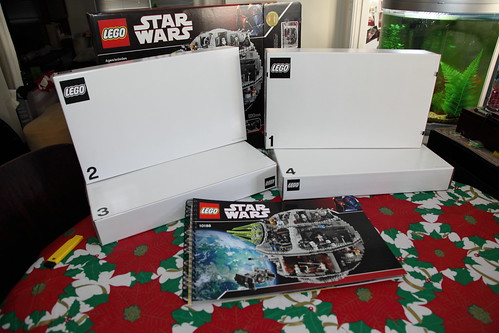
So onto the build, starting with box 1:
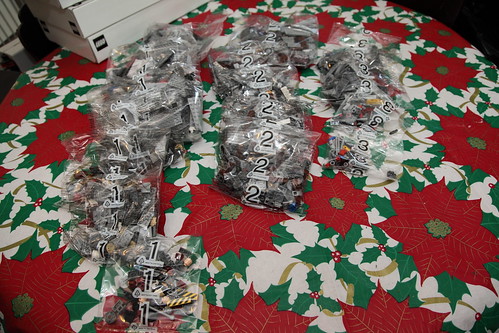
3 lots of bags, for order sake, this is the method you follow in the manual, the bag numbers which come from the boxes in order.
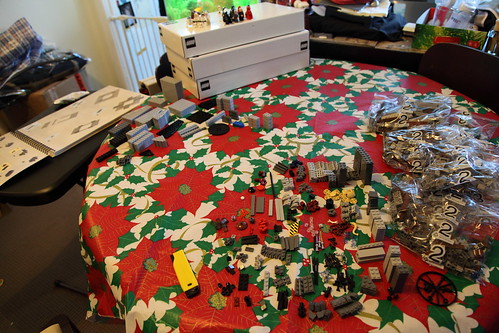
I separate the parts out from the bags all in one hit and order the parts into like pieces
The minifigs collected from the first bag set
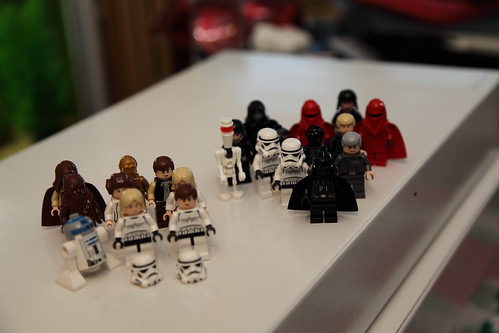
Three Lukes, Two Hans, Leia, Obi Wan, 3PO, R2, Chewie, Darth, Emperor, and a host of Imperial Scum and droids
After that lot, the base has taken a great shape, the level of construction is detailed and solid, the compactor alone is so good, but Bag 3 is coming up with all the little details for this part of the build
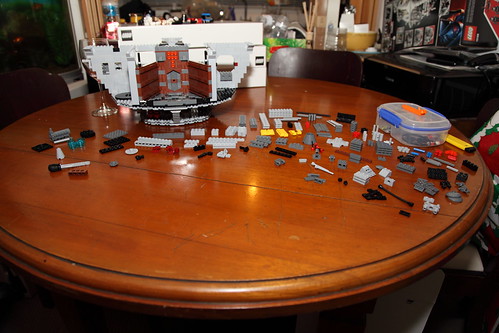
A mechanism to allow the compactor doors to close in
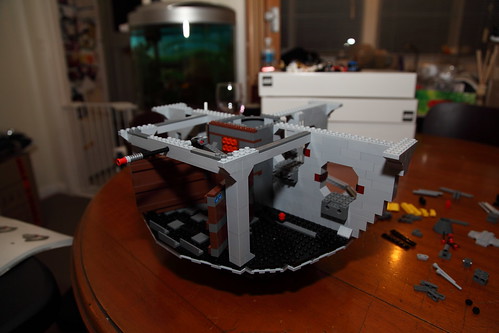
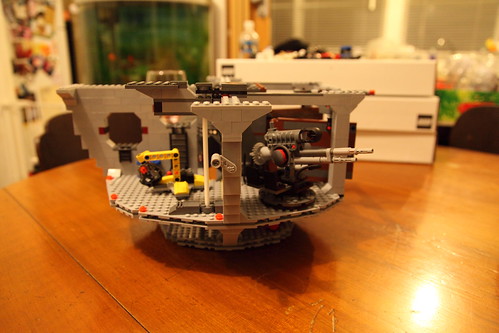
A working elevator with winch, a nice little fork lift type vehicle for the hangar and the detail on this gun was awesome to build
Debris and Struts for the compactor, the power core for Obi Wan to shut down
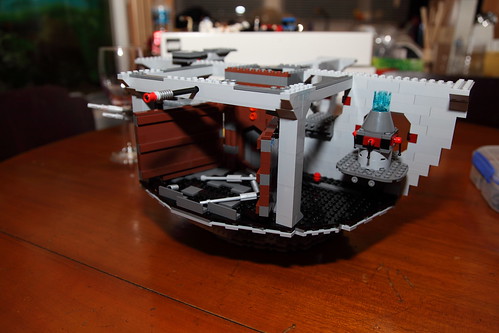
So that’s box one built, next post, box two…
First Christmas
Christmas had lost it’s shine being a 38 year old, you forget what the joy is, you look at the money flow out, get stuffed on food, drink a heap and shudder at having to return to work in a few days time, none of the long breaks of childhood away from school.
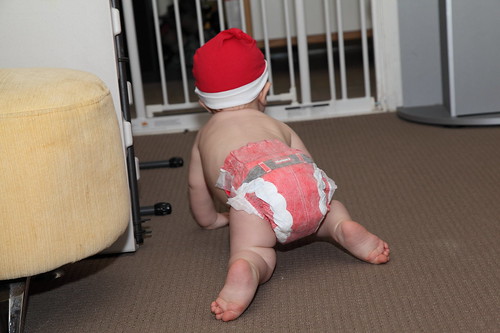
This year brought the joy back, if only in a little way, Sean is only 10 months old, but this was his first Christmas, and it brightens me up to think of how many more we are going to have together and what he will be able to experience on those magical mornings
His Cousin Zara is now almost three, she gets the presents now. If not fully comprehending the whole Christmas deal, but she knows how to tear open the wrapping paper.
Sean knows how to eat it.
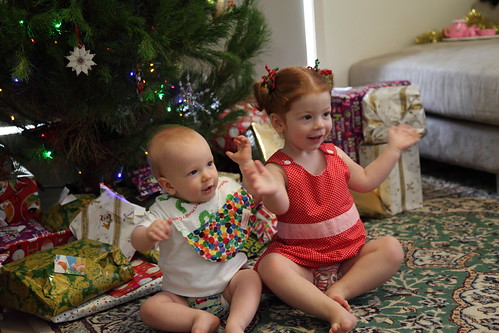
But getting the Kids dressed up and in the Christmas spirit is fun again, things we will do together. I can’t wait to do an Advent Calendar with him in the future.
Until then, cheesy photos help bring the magic back.

