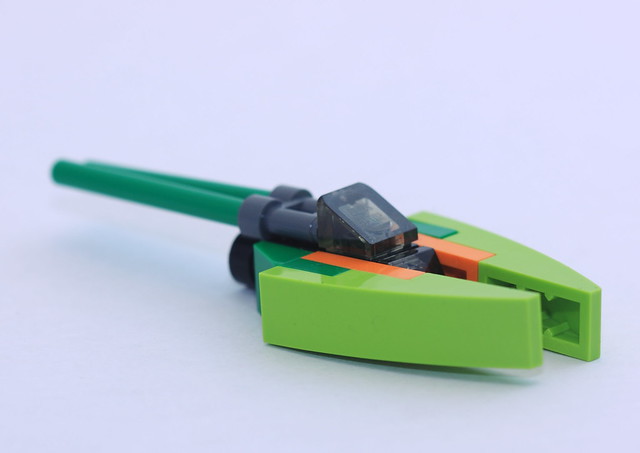
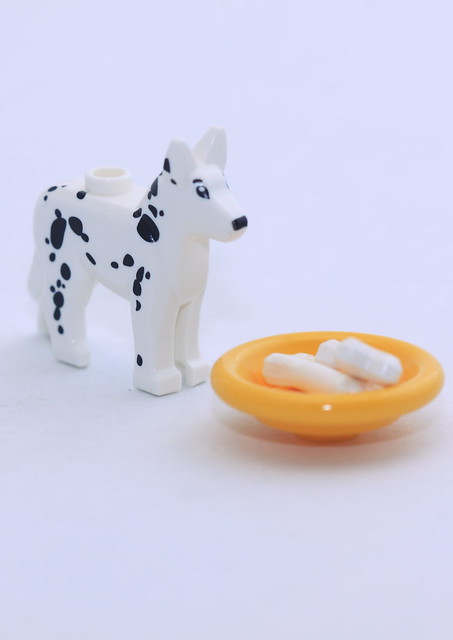
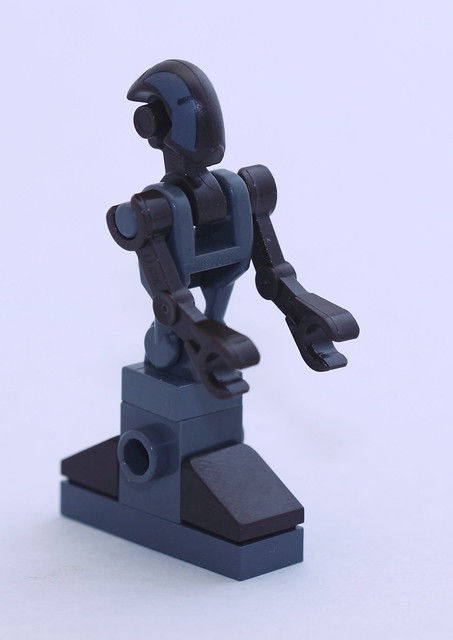
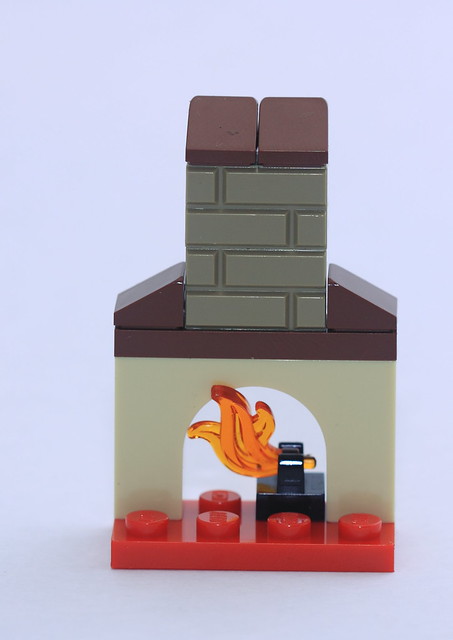
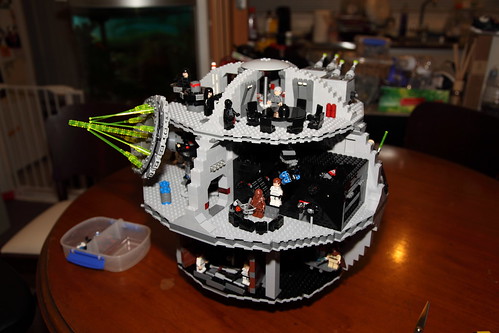
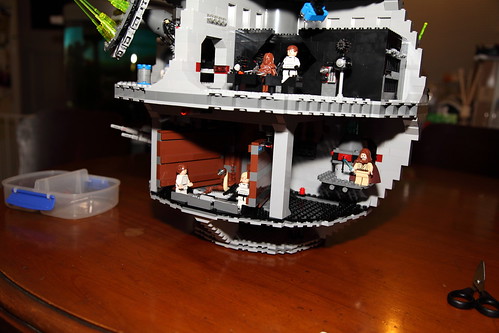
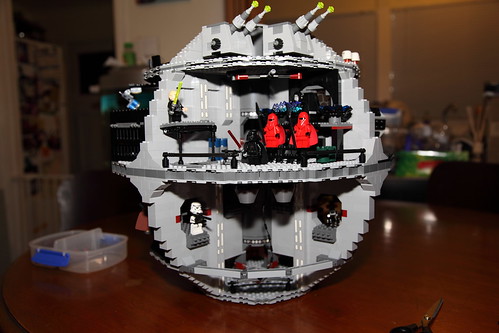
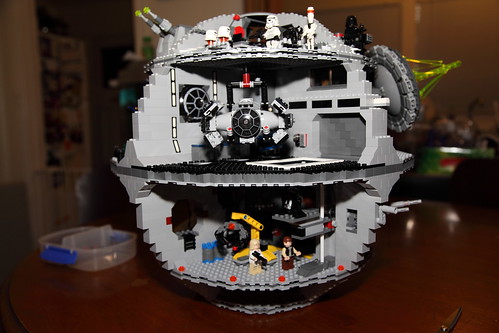
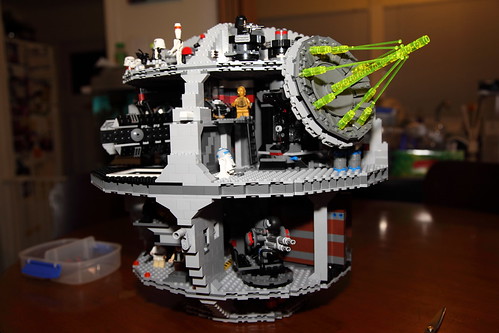
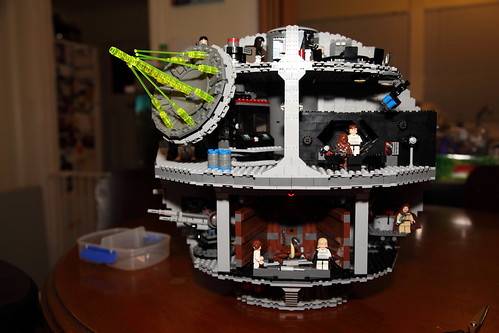
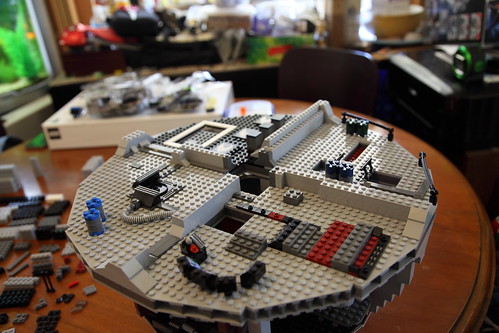
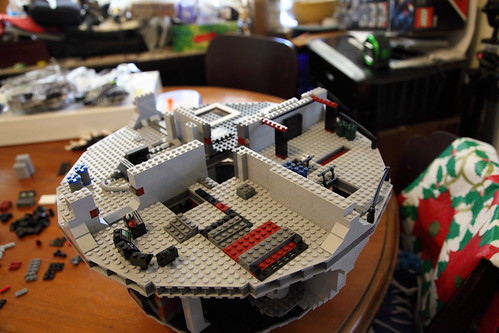
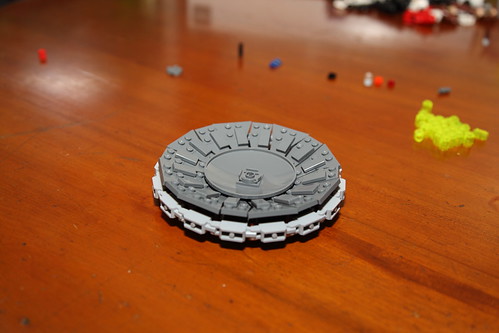
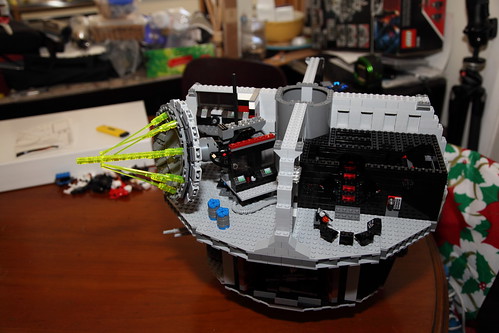
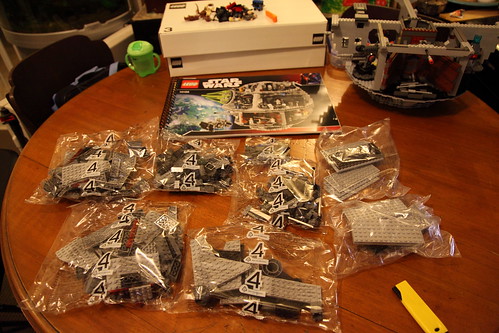
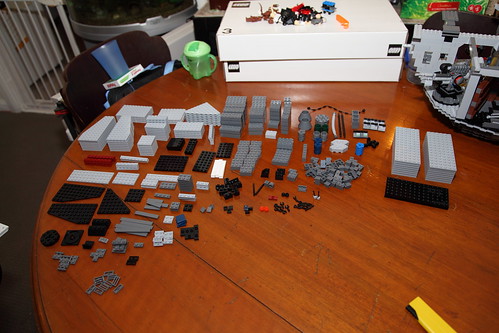
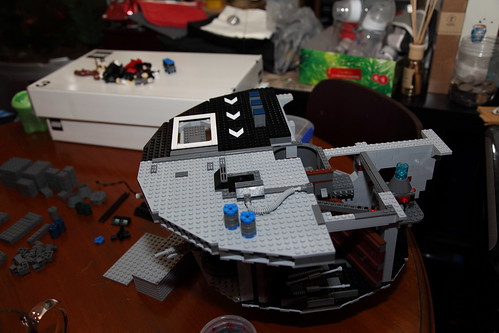
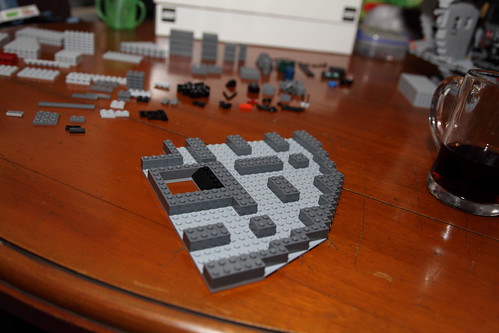
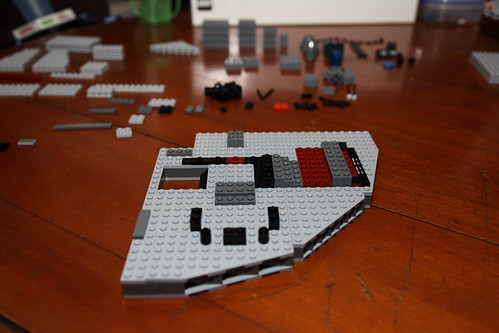
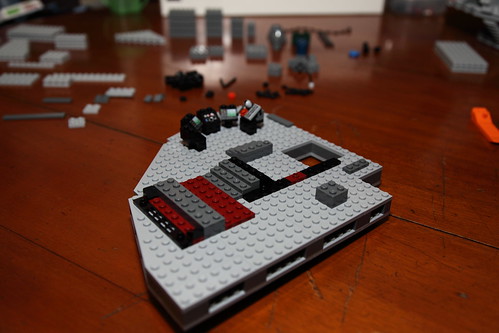
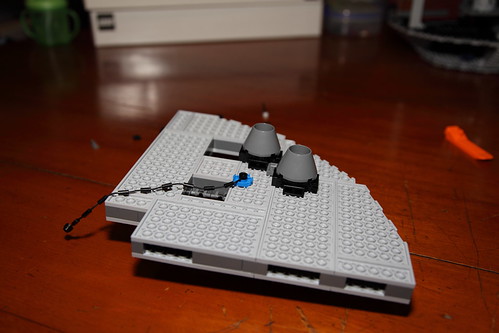
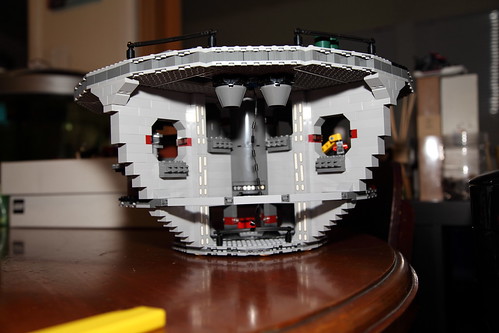
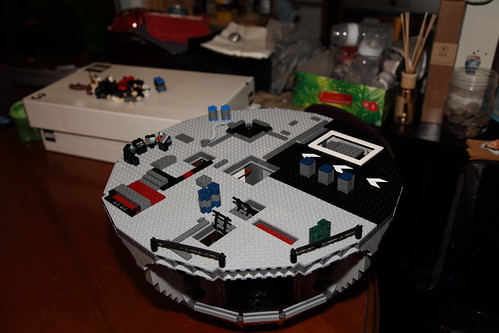
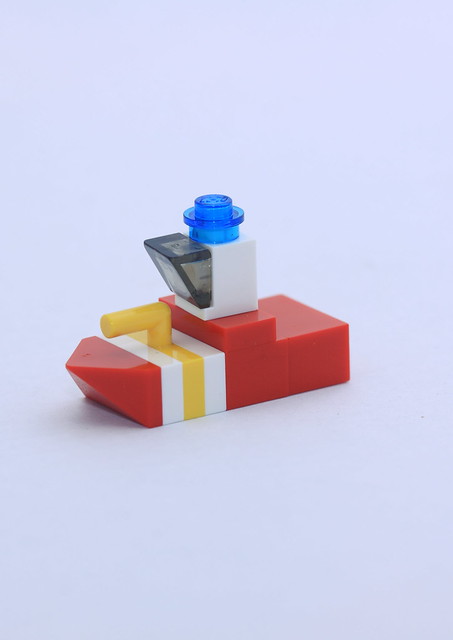
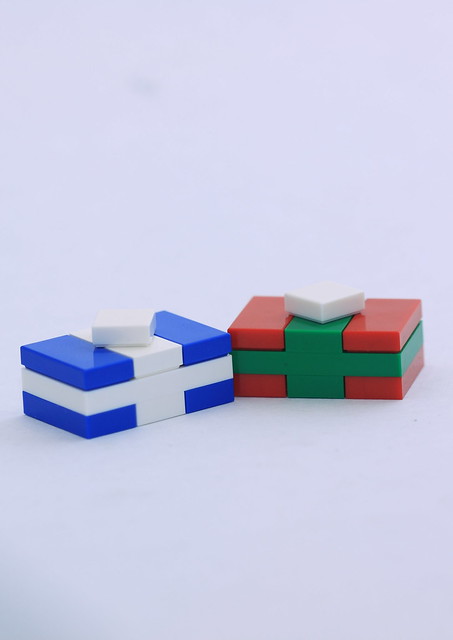
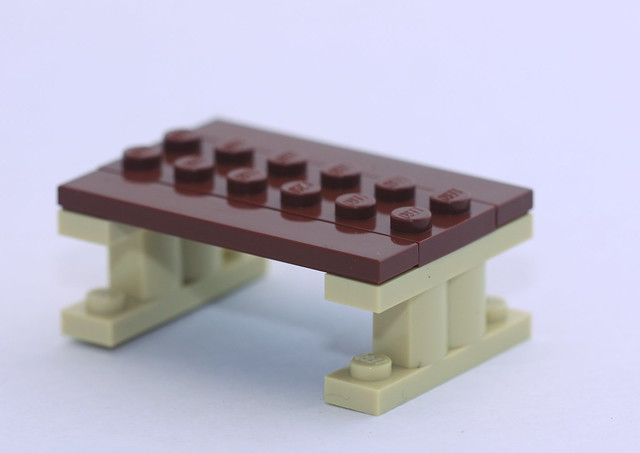
Lego Advent 2013 – Day 3
Lego Advent 2013 – Day 2
Lego Advent 2013 – Day 1
Changes in me
Tonight at 9:30 I could have been out drinking with friends in the preparation to the wedding we will be attending tomorrow. Instead I was curled up on the bed watching my 14 month old son drift off to sleep. Which would I rather do? The one I was doing.
14 months in of being a parent has been a changing affair to my outlook on life, what I get to do with my spare time and how I feel about the world at large.
An impact on my personal health has also raised how I feel, I scared my self into thinking the worst last week, but all has turned out ok, not great, but ok, I can and have to live with my condition. Nothing that is life threatening but uncomfortable and a life long companion.
But Sean has brought so much joy to me, the little things he does now are always a surprise at times. He has latched on to the weirdest things as favourite toys, a spoon, my old belt, shoes, any shoes. The adventures he has with these items when he has all the other toys we have given him is amazing to behold. And just you try and take that spoon away, hell will be visited upon they who try!
I look forward to the many adventures yet to come, and the many more surprises. But also they quiet times where I can just watch as our little bundle of us just sleeps away peacefully riht beside me.
Modifications
So, you buy a set from Lego, they provide an expansion set, you put set 1 with set 2, and you know what, it’s ok, but just not what you wanted.
What do you do, you buy a second one of each set and make some modifications, that’s what you do.
LEGO is an awesome product, and it allows for just this situation, your not happy with what the Lego designers came up with? fix it!
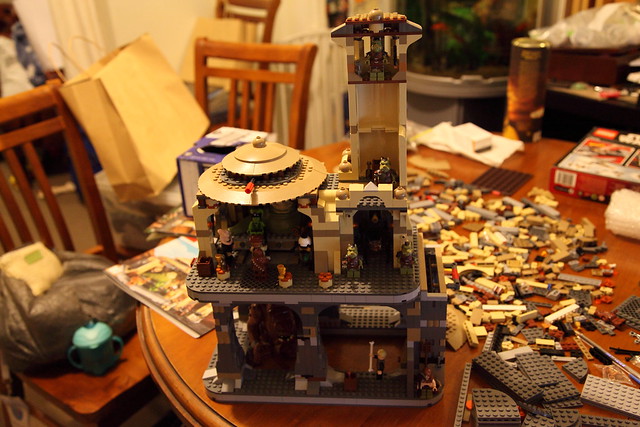
Jabba’s Palace was sitting all over the place, didn’t seem to move too much, probably had to do with the price $200 in Australia, then they release the Rancor pit for $90
So Kate got me the Palace for Christmas, I got a Pit when they released in February. was okay with the build but it was lacking, inspiration was put up on the eurobricks forum and I fell in love with the idea. So Kmart had a reduction of the palace to $109 that coincided with a 20% off at Toys R Us.
Here’s the slide show of original to end game… maybe
1 year in
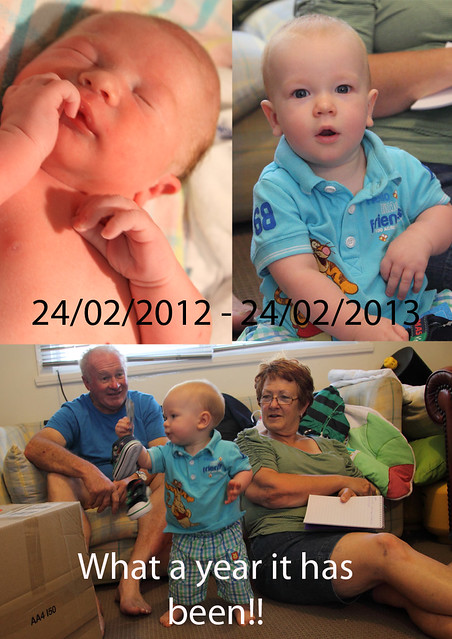
So one year later the little boy in our lives has turned one and I can’t say I am happier to have gone through everything we have with him.
There have been lots of changes in this year and to see him progress has been fantastic, this year I ‘m going to try and get more of those milestones up on here, I have been truly slack in maintaining a record of his life.
Lego Death Star: A Saga part IV – A New Hope…
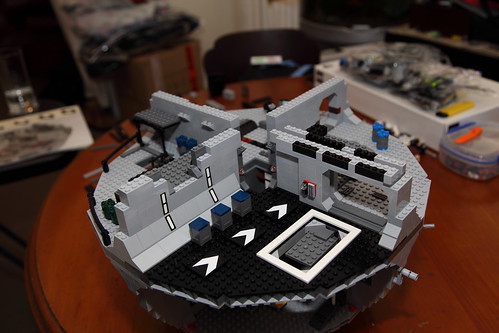
Here we are, the final stretch, box 4, bag set 7, and what a lot of bags there are…

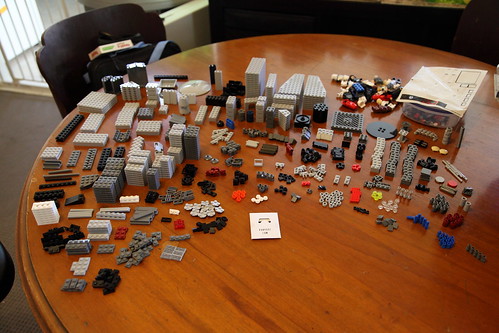
All laid out, this is what it contains, lots and lots of small pieces in here
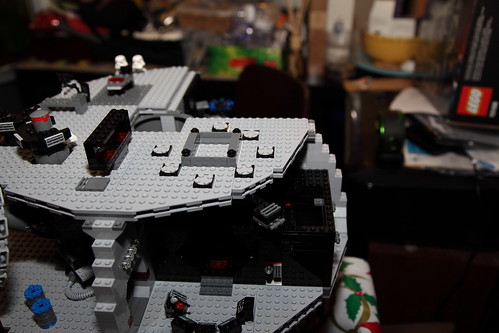
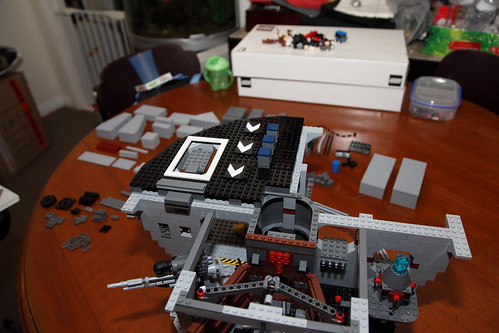
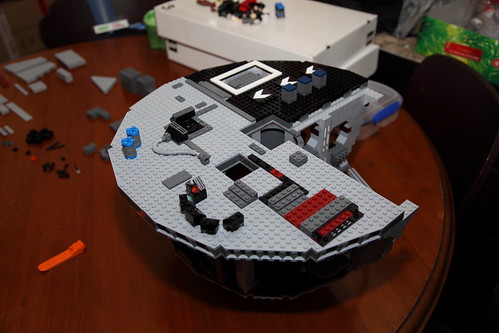
A small work area on the top floor, above the Hangar
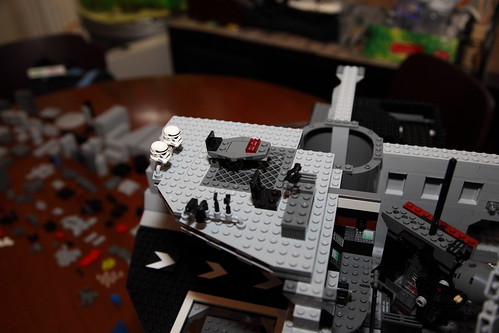
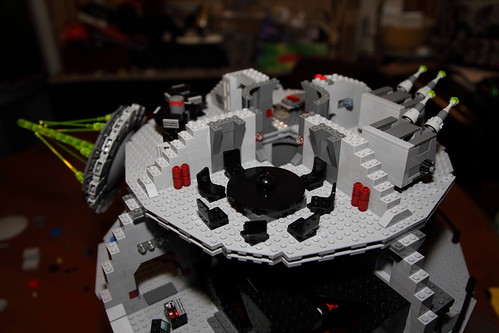
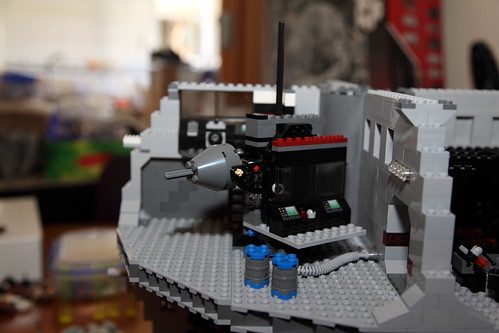
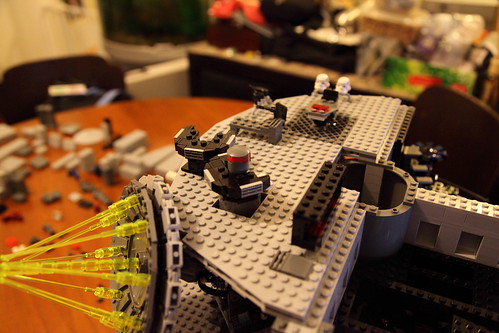
The Control room for the Death Ray
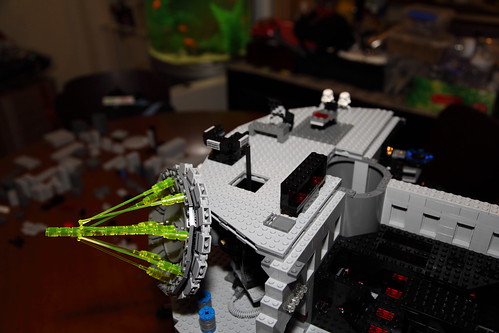
Rotate the desk left or right to aim the beam, turning the knob in the desk moves it up and down
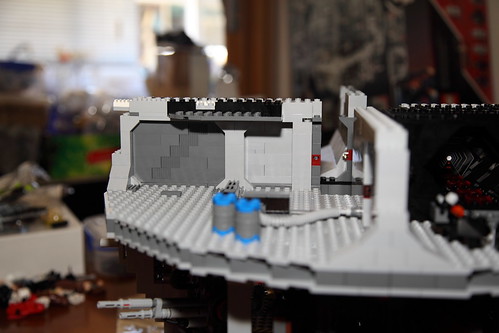
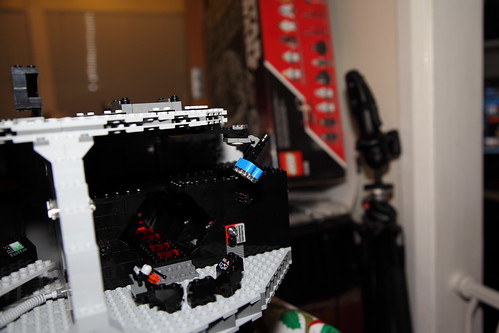
A light for the Detention Block
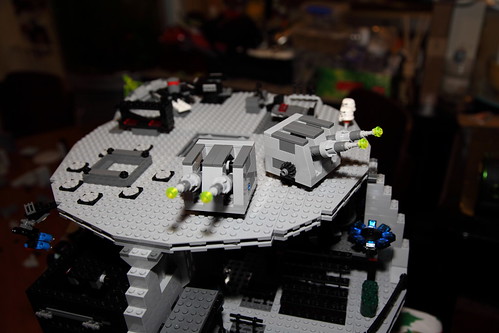
Turrets for the defense against X-Wings, here they are not connected to the aiming mechanism, a bar network under the floor links the two so they move together, the guns move up and down individually by the knob on the side of the turret
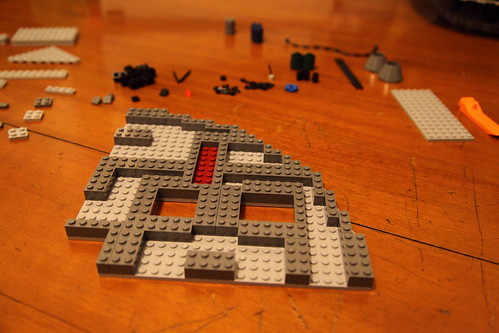
Building the final walls, these are quite intricate using more flat bricks than standard to build it up
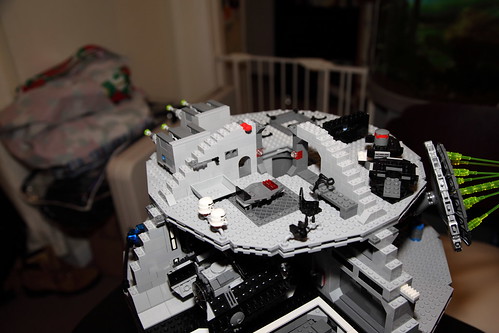
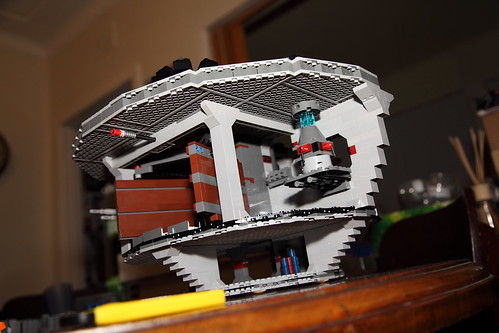
The Central Lift being inserted into the shaft.
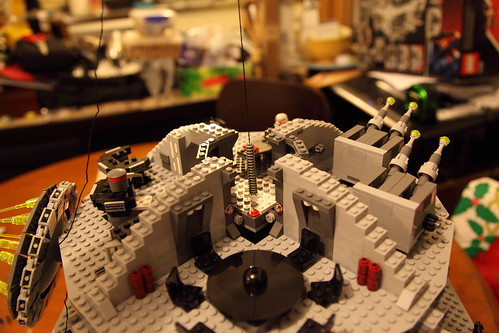
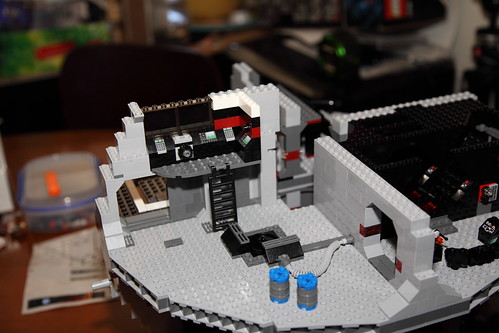
The lift mechanism in the workroom
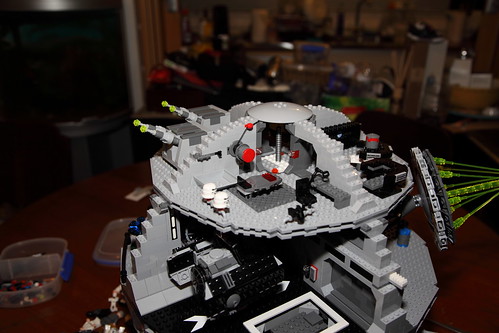
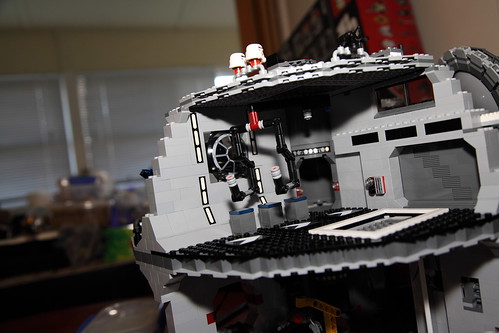
All up a very fun and challenging build that I would recommend to any one, it has a lot of techniques in the building that would help with developing ideas for kids to make more complex models themselves.
40 centimeter diameter makes it a rather big unit, but it packs a lot of play areas into the whole construction.
I’d happily recommend to anyone interested to get it, but do source it from a cheaper retailer than locally or direct from Lego.
Sidebar:
A set this size as with most Lego sets has a piece or two left over, this is what was left on the Death Star
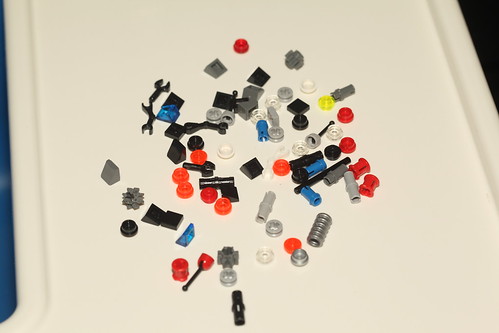
Lego Death Star: A Saga part III
Box Three: time to populate this level
Two sets of Bags for Box three, Bags 5 and 6
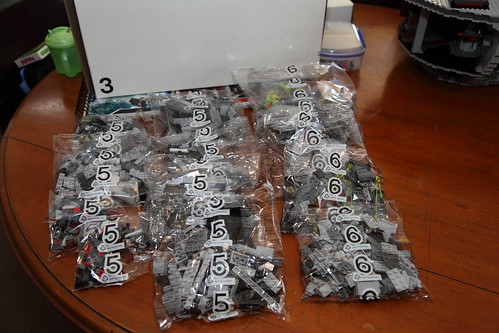
Bag 5 sorted and ready for build
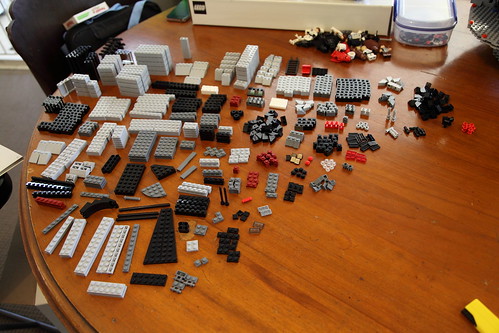
I didn’t realise it at this point, but that stair case in the throne room was going to be demolished again right near the end of this bag set, Dark Grey and Black are way too close in the instructions, and I used a couple of black pieces in the stairs that should have been Grey, they are hidden from view, but where I needed the Black pieces in the Detention block was a major stand out.
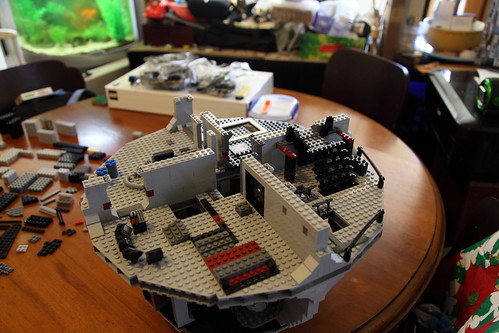
There is a functional door going in on the right. The little perspective trick that is used on the detention block to make it look like it goes back a heap is a really nice touch.
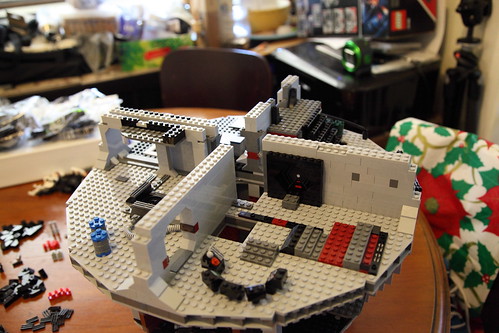
This is a part when first things went astray, I thought a piece was missing, found a replacement in my spare stash and moved on, later I realised it was bigger then that.
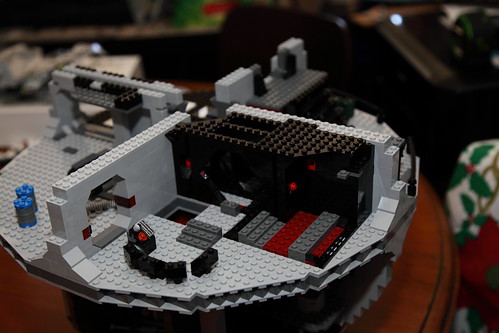
Starting to show the perspective build up
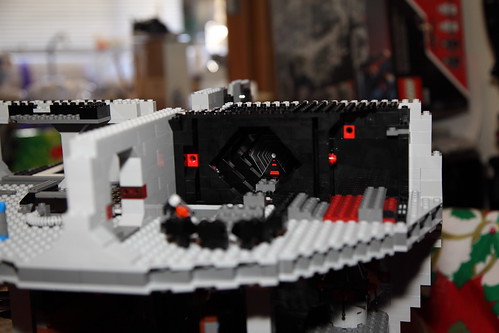
Functioning door to cell, break away bars and the fall in panel into the trash compactor
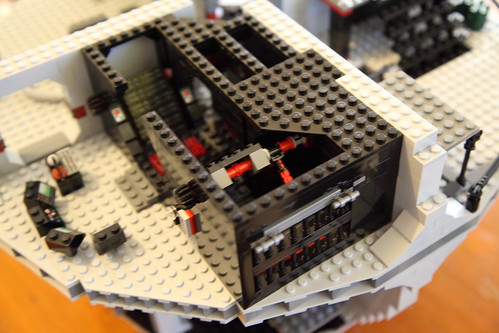
Probably should have used the macro lens for this shot, but falls back into blur to the detention block
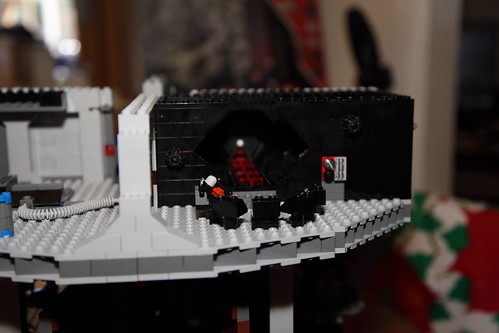
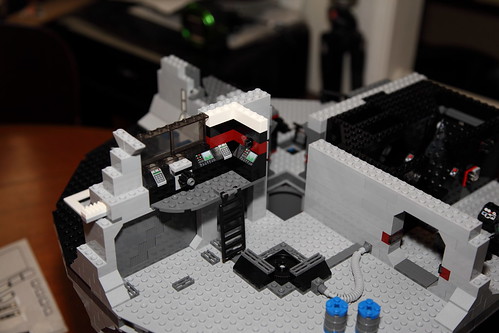
The control room, but no cupboard for droids to hide in
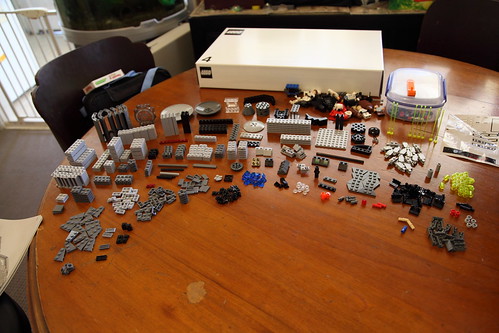
Bag 6 sorted and ready for Build
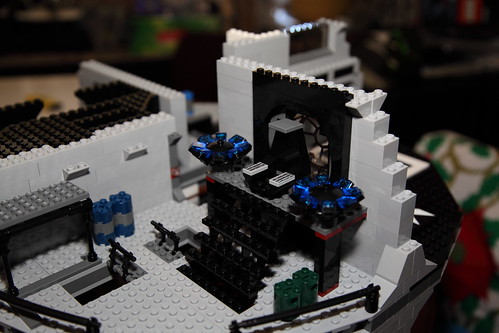
Details in the throne room are nice
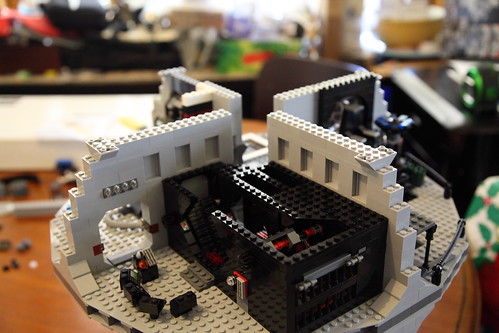
Building up before the next level
Final Box to come….
Lego Death Star: A Saga part II
Build Stage 2: Box 2
Building this Death Star, and all the other Star Wars Lego I have in a display cabinet at the moment is for one purpose.
Building up a collection of Lego for Sean to get creative with, it’s not all going to be left as the current state and just kept for display, all these parts can be mashed in together and create something new when he plays with it further down the track as well.
I had a fairly large collection of Lego as a child, I gave that, and most of my toys away or threw them out, don’t actually have anything left from my childhood toys left to pass on.
Lego is timeless, and it harbours creativity in a mind.
Anyway, onto box 2, this box contains one bag set, set 4, plus two plain bags of large plates and will be the floor base of the second level.
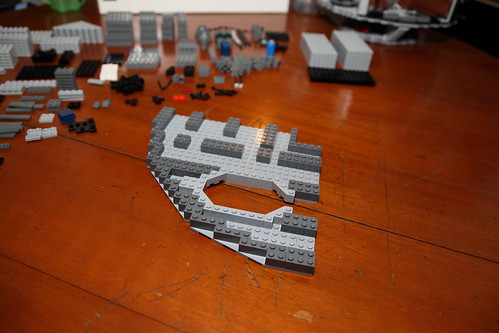
All the base plates follow a similar design, but with a few holes in three of them, this one makes the opening for the elevator
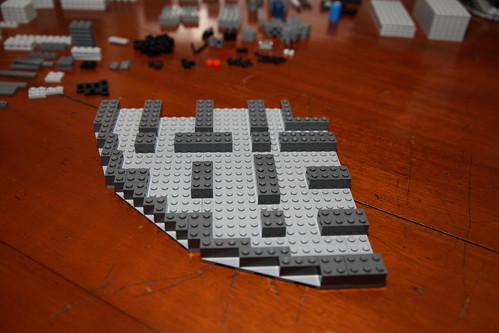
This is a solid floor, no holes
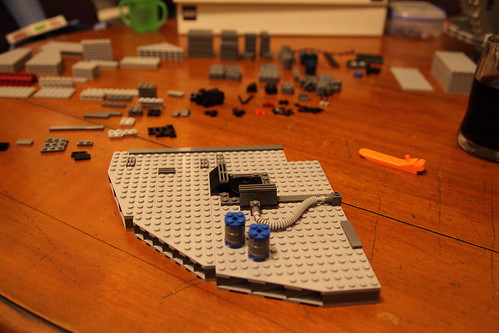
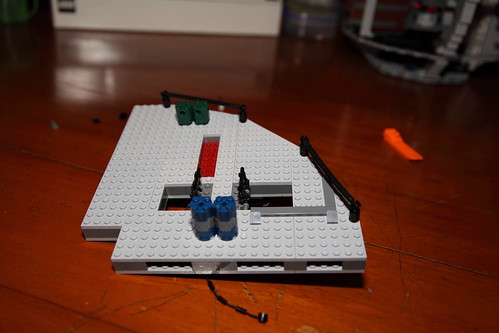
Here we have the third floor piece, with the hole from the detention level down to the compactor
The communication station in the detention level
Connection to the power core
The line Leia and Luke swing across the gap on
The completed floor level and box 2 finished
Not a lot of detail, but a sold build again and a lot of parts to put it together. onto box 3…
